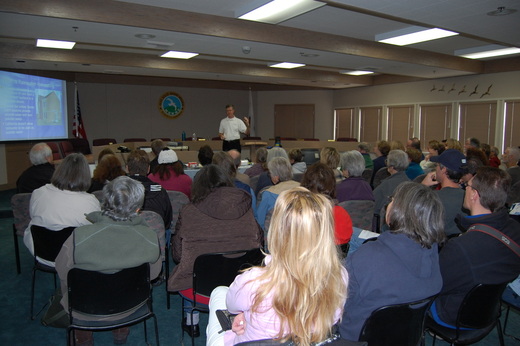
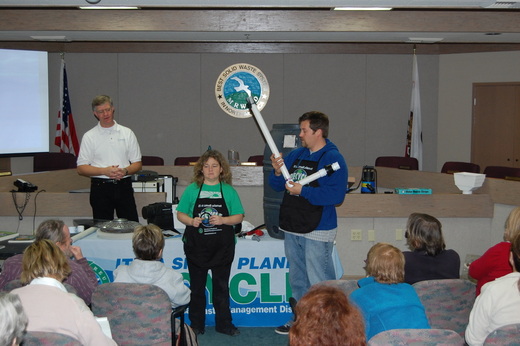
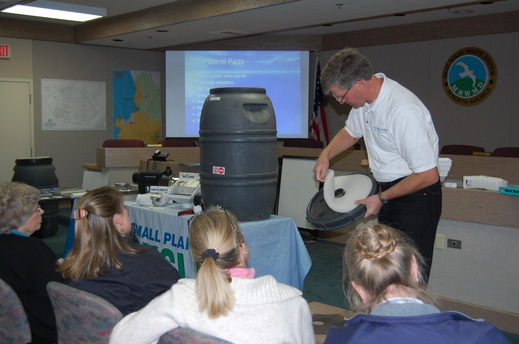
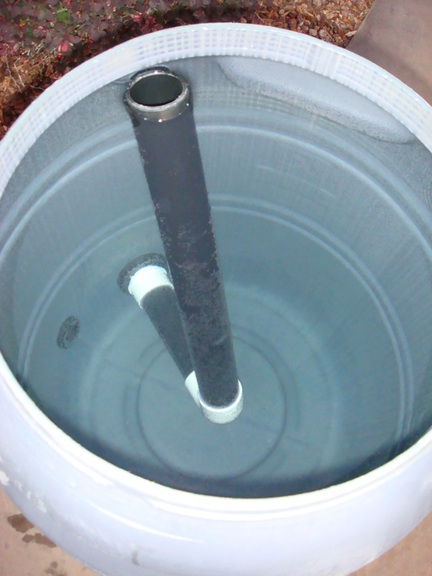
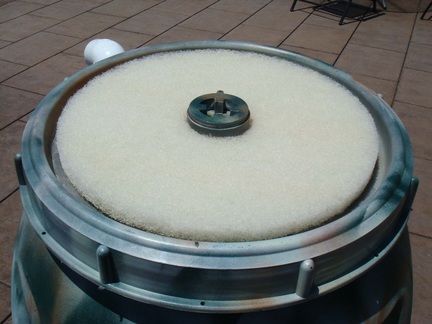
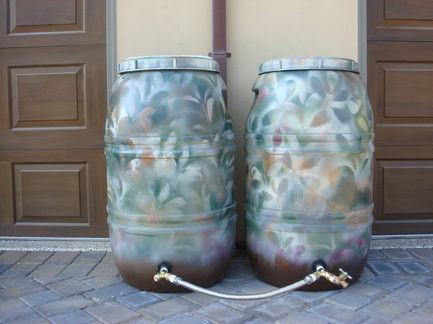
Rain barrel information from the Monterey Regional Waste Management District Workshop 12/05/2009. Thanks to over 100 interested people for attending the two workshops. I have added the information from my presentation regarding rain barrels specifically below.
Re-purposed olive barrel has a new life and now holds rainwater for irrigation.
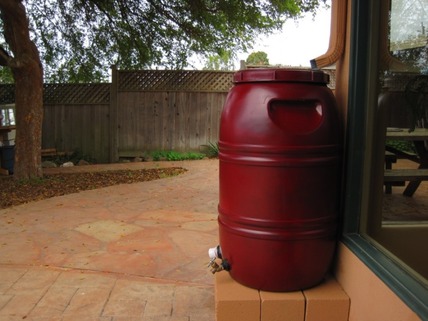
Deborah Carol attended the Dec. 5th, 2009 workshop and purchased a re-purposed olive barrel. She has made it her own now by painting it to blend peacefully into her home environment. Note, her downspout is positioned over the filter at the top of the barrel and the barrel is elevated and on a level stable base of cement blocks. Better yet, after the rain on Sunday, January 17th, 2010 the barrel is almost full of rainwater. Great job! Remember to use the water and let it sponge up into your yard as more rain is on the way to collect!
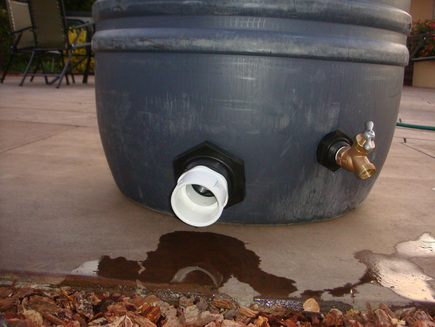
View of Rain barrels assembled from Olive barrels
Rain barrel Safety
1) Rainwater is non-potable and should not be used for drinking water
2) Use for irrigation or car washing for example
3) Install rain barrel in a secure area like a backyard
4) Keep the top of the rain barrel screwed on to avoid a drowning hazard.
5) Each barrel weighs about 20lbs empty and 460 pounds full. Secure properly to avoid damage or injury
6) Don't climb on the barrel or fixtures to avoid damage or injury
7) Secure the rain barrel like a water heater to a wall or fence
8) Install on a level surface only to avoid falling over
9) Don't install above a downhill surface
10) Educate family and friends who will come in contact with the rain barrel
Rain barrel Parts
1) Recycled 55 gallon food grade barrel
2) Bulkhead adapters
3) PVC pipe and parts
4) Brass hose bib
5) Mosquito screens and tie wraps
6) PVC primer and cement
7) 15" filter for top of barrel
8) Teflon tape
2) Bulkhead adapters
3) PVC pipe and parts
4) Brass hose bib
5) Mosquito screens and tie wraps
6) PVC primer and cement
7) 15" filter for top of barrel
8) Teflon tape
Rain barrel tools
1) Drill
2) Appropriate diameter hole saws for bulkhead adapters and lid
3) Scissors to cut out mosquito screens and 15" filter hole
4) Strap wrench to tighten bulkhead adapters
5) PVC Saw to cut PVC pipe
6) Work Gloves to avoid injury
2) Appropriate diameter hole saws for bulkhead adapters and lid
3) Scissors to cut out mosquito screens and 15" filter hole
4) Strap wrench to tighten bulkhead adapters
5) PVC Saw to cut PVC pipe
6) Work Gloves to avoid injury
Rain barrel Assembly
1) Drill pilot holes where bulkhead adapters will be installed
2) Use hole saw to drill holes in barrel and lid
3) Install 3/4" bulkhead adapter and hose bib
4) Build overflow assembly
5) Install overflow assembly
6) Install mosquito and filter screens on lid
7) Install safety label
2) Use hole saw to drill holes in barrel and lid
3) Install 3/4" bulkhead adapter and hose bib
4) Build overflow assembly
5) Install overflow assembly
6) Install mosquito and filter screens on lid
7) Install safety label
Rain barrel Installation
1) Identify downspout location in backyard or secure area
2) Build a strong base on a solid level surface
3) Set rain barrel on base
4) Secure rain barrel like water heater with straps
5) Point overflow outlet away from foundation and property line
6) Using flexible downspout connector measure where to cut downspout
7) Cut downspout and attach flexible downspout connector
8) Secure with bracket and screws to wall
9) Adjust flexible connector over rain barrel so water flows through filter into barrel
Rain barrel Maintenance
1) Clear debris from filters on lid after rainfall
2) Make sure barrel is level and base is solid
3) Check for damage to parts and replace or fix as required
4) Check for leaks and repair appropriately
5) Make sure overflow water is flowing where it is targeted and not eroding the soil or passing over the property line and adjust if required
2) Make sure barrel is level and base is solid
3) Check for damage to parts and replace or fix as required
4) Check for leaks and repair appropriately
5) Make sure overflow water is flowing where it is targeted and not eroding the soil or passing over the property line and adjust if required
Use the Water
1) Use for non-potable purposes, not drinking water
2) Use the water in the barrel regularly. 55 gallons isn't alot of water and the barrel will fill quickly during the next rain
3) Direct the overflow for "passive rainwater harvesting" in your garden. Use the soil as a sponge.
2) Use the water in the barrel regularly. 55 gallons isn't alot of water and the barrel will fill quickly during the next rain
3) Direct the overflow for "passive rainwater harvesting" in your garden. Use the soil as a sponge.
